Active HEPA+ Pro Setup & Maintenance
It’s time to start purifying your space!
Congratulations on your purchase of the Active HEPA+ Pro Purifier! We hope this guide will help you get started on your purification journey. Learn how to setup your unit, adjust settings, and replace components to keep your unit running flawlessly!
STEP 1
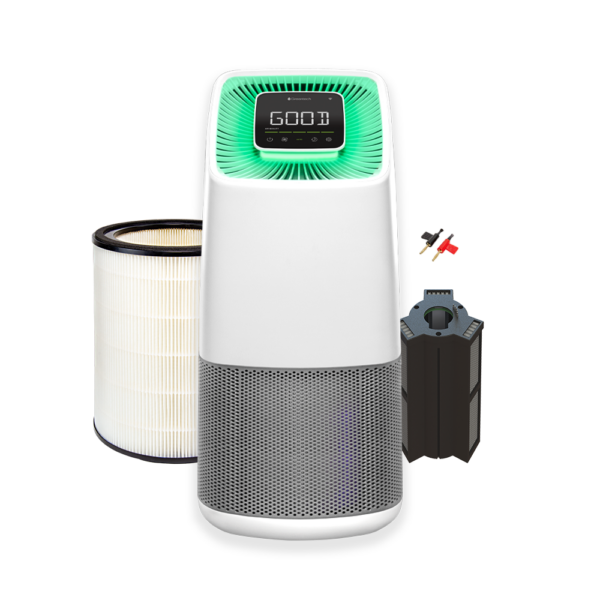
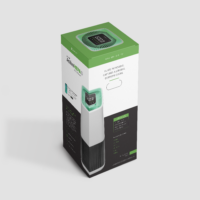
Remove the unit from its packaging. Save the Owner’s Manual for reference.
STEP 2
Press the rear button and remove the unit top. Remove the plastic filter bag and replace the top.
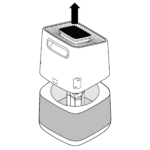
STEP 3
Place unit in a location with good circulation, away from the wall and air return, or near the source of pollution.
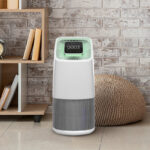
STEP 4
Plug your unit into an outlet and wrap any unused length of cord underneath the unit.
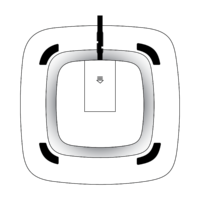
STEP 5
Press the Power Button to turn your unit on and begin purifying.
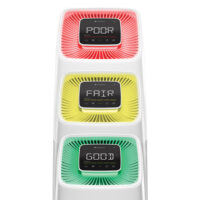
Filter Replacement
STEP 1
Press the rear button to remove unit top.
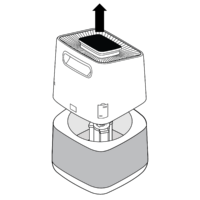
STEP 2
Remove used filter.
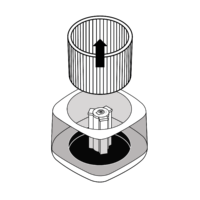
STEP 3
Replace with new filter.
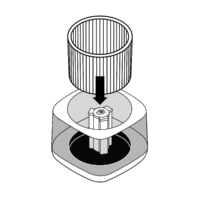
STEP 4
Replace unit top, ensuring the button clicks.
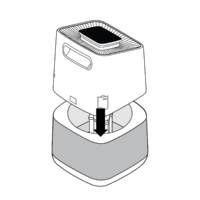
STEP 5
Reset the Filter Life by navigating the information menu to the Filter Life screen and holding the information button until the life remaining changes to 100%.
PCO Cell Replacement
STEP 1
Press the rear button to remove unit top.

STEP 2
Remove used PCO Cell.
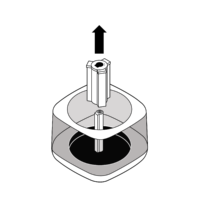
STEP 3
Align the new PCO Cell with the post and press down to secure.
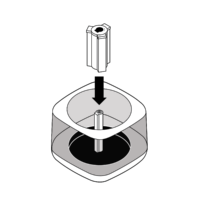
STEP 4
Replace unit top, ensuring the button clicks.

STEP 5
Reset the PCO Cell Life by navigating the information menu on the control panel to the PCO Cell Life screen and holding the information button until the life remaining changes to 100%.
BPI Brush Replacement
STEP 1
Remove the two screws located on the inner/top edge of the rear handle, then pull to remove the handle.
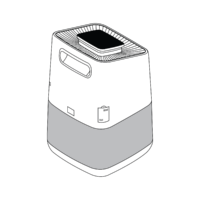
STEP 2
Remove the two used BPI Brushes by grabbing the tabs and lifting them up and out.
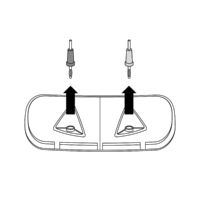
STEP 3
Replace with new BPI Brushes by inserting them into their color-coordinated outlets until fully seated.
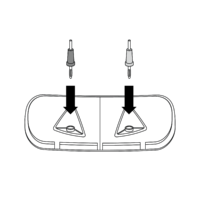
STEP 4
Replace the handle cover and secure with the two screws.

STEP 5
Reset the BPI Module Life by navigating the information menu to the BPI Module screen and holding the information button until the life remaining changes to 100%.
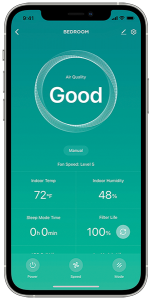
Greentech Connect Setup
STEP 1
Download the Greentech Connect App and create an account.
STEP 2
Connect device to 2.4Ghz WiFi and set your unit to discovery mode by holding the Power Button down until the WiFi symbol begins to blink.

STEP 3
Press the + button in the Greentech Connect App to add your unit.
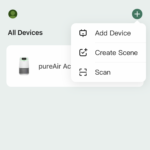
STEP 4
Select the unit on your device list and control your unit as desired!
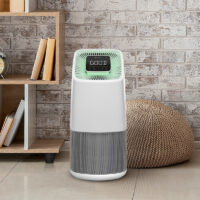
Features and Specifications
UNIT
- Model: Greentech Active HEPA+ Pro (1X5826)
- Dimensions: 11.3” H x 11.3” W x 24.0” D
- Metric: 28.7cm H x 28.7cm W x 60.9cm D
- Weight: 14.5lb (6.6kg)
- Decibel Level: 26-53dB
- Unit Warranty: 1 Year Manufacturer’s Warranty
POWER
- Electrical Input: 110V, 60Hz
- Power Consumption 62W
TECHNOLOGIES
- PCO: Photocatalytic Oxidation
- ODOGard® Coated HEPA+ Filter
- Bipolar Ionization Module (BPI)
INCLUDES:
- Active HEPA+ Pro unit
- Power Cord
- Owner’s Manual

